Artec Industries
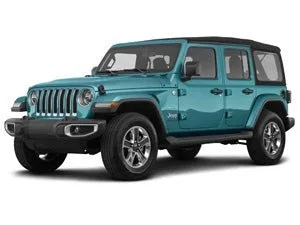
JEEP WRANGLER JL

JEEP WRANGLER JL
JLU 2018+

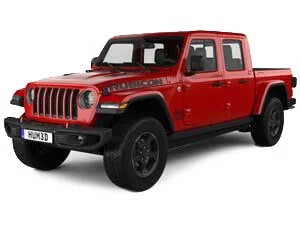
JEEP GLADIATOR JT

JEEP GLADIATOR JT
2020+

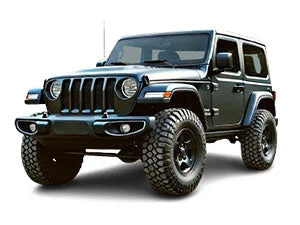
JEEP WRANGLER JK

JEEP WRANGLER JK
JKU 2007–2018

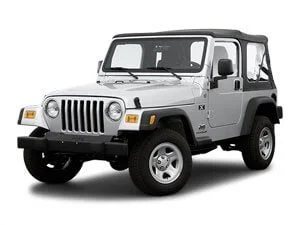
JEEP WRANGLER TJ

JEEP WRANGLER TJ
LJ 1997–2006

JEEP WRANGLER YJ

JEEP WRANGLER YJ
1987–1995

JEEP GRAND CHEROKEE ZJ

JEEP GRAND CHEROKEE ZJ
1993–1998

JEEP CHEROKEE XJ

JEEP CHEROKEE XJ
1984–2001

TOYOTA 4RUNNER

TOYOTA 4RUNNER
2014–2024

TOYOTA TACOMA

TOYOTA TACOMA
2016+

FORD SUPERDUTY

FORD SUPERDUTY

DODGE RAM

DODGE RAM

DANA 30

DANA 30

DANA 44

DANA 44

DANA 60

DANA 60

DANA 80

DANA 80

14 BOLT GM

14 BOLT GM

FORD 8.8

FORD 8.8

FORD 9 INCH

FORD 9 INCH

STERLING (FORD)

STERLING (FORD)

AAM

AAM

BRACKETS AND TABS

BRACKETS AND TABS

STEERING

STEERING

LINK KITS

LINK KITS

ROD ENDS AND PARTS

ROD ENDS AND PARTS

BUSHINGS AND PARTS

BUSHINGS AND PARTS

SUSPENSION HARDWARE KITS

SUSPENSION HARDWARE KITS

MOUNTS

MOUNTS

TOOLS

TOOLS

All Packages Jeep Packages Toyota Packages
Long Arms Bantam Series Sentinel Series GearUp Series Rocker Guards Ultimate Dana Axle Truss Bellypan Rebate Blog Community Partnership Affiliates
Contact Us About Us Find a Dealer Become a Dealer Dealer Resources Careers
Product Details
  • PATENTED APEX peaked top for rigidity
  • Lightweight 3/16" mild steel, 13 lbs
  • CNC precision laser cut/bent for fitment
  • Designed with Dana/Jeep 3D models
  • 70% less welding, less warping, lower costs
  • No long seam welding needed
  • Dimpled holes for weight reduction and strength
  • Weldable with MIG, moderate pre/post-heating
  • Low profile for ideal link joint geometry
  • Fits between coil springs or for link mounts
  • Two-piece design for easy installation, lower shipping
  • Sleek, low profile for versatile, strong axle
  • Made in the USA
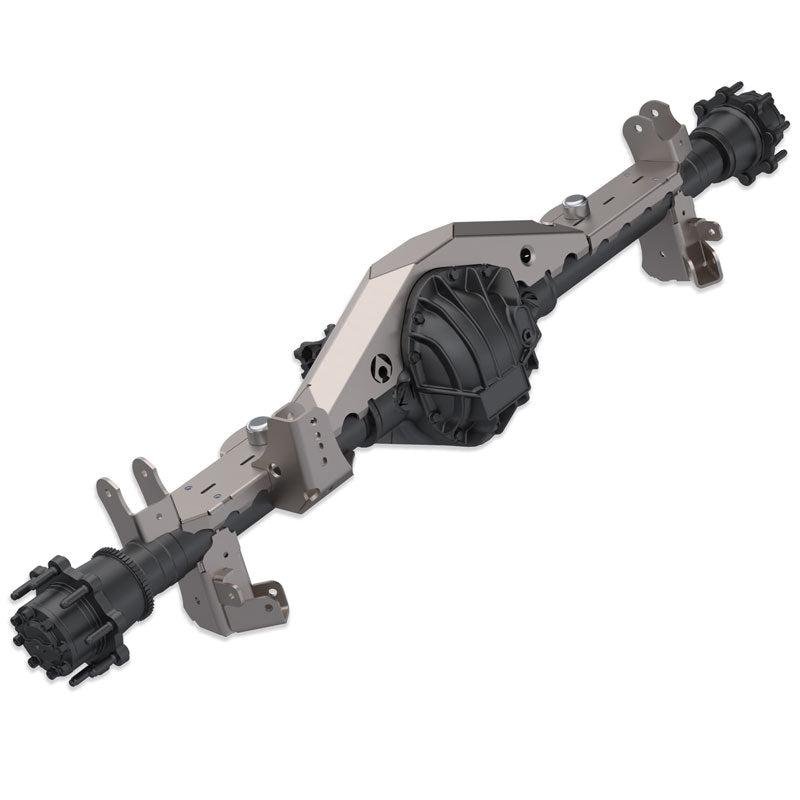
UD60 Rear APEX Short Truss
Introducing the APEX Truss, Artec Industries' next-gen, PATENTED axle trusses that elevate strength, weight savings, installation simplicity, precision fitment, and complete axle protection. As the world leader in axle truss design, we've crafted the APEX Truss with a unique peaked shape top for enhanced rigidity, weight reduction, and elimination of long weld seams. This design prevents weld warping, reduces install time, and ensures consistency. The APEX Truss serves as the core of our APEX 1-ton swap kits for JK, JL, and JT, improving axle rigidity, strength, and enabling upper link mounting over the differential. Fits Ultimate Dana 60 rear axles, may fit others with minor trimming.
Install Instructions
ArtecIndustries

Install Instructions


THIS PART REQUIRES WELDING AND GENERAL FABRICATION SKILLS. ONLY COMPETENT WELDERS SHOULD ATTEMPT TO INSTALL THIS PART.


Tools Required :

Safety Glasses, Gloves, , Socket Set, Wrenches, Wheel chocks,  Cutting Tool of your choice (Sawzall, Grinder, plasma, cutting torch) Lug wrench, Wheel Lock Key (If you have wheel locks the guys at the tire shop probably lost the wheel lock key Welder/ Welding PPE,


Step 1:

Inventory that you have all of the parts for your order If you are missing parts or have incorrect parts contact Artec Industries Immediately @ (855)-278-3299  M-F from 8am-5pm MST. If it is after those hours please Email Sales@Artecindustries.com


Step 2:

Place wheel chocks at the front wheels of the vehicle.  Break free lug nuts on rear wheels (Do not fully loosen or remove lug nuts yet.)


 Step 3:

With the vehicle sitting on the ground, Measure your ride height at the frame and height of the centerline of the axle, Also take measurement of your wheel base.

(Make a note of this for later.)


 Step 4:

Jack up the rear of the vehicle and set the axle on Jack stands, Remove the rear wheels from the vehicle,  With the wheels removed Jack the vehicle up again. Securely place tall jack stands under the frame in front of the LCA or Leaf spring mounts at the previously measurement of ride height. Place a 2nd sent of jack stands under the rear axle.


Step 5:

Remove the existing rear axle from the vehicle. If you are stretching wheelbase back  far enough for axle to interfere with fuel tank you will also want to Remove the fuel tank and set it in a well ventilated area away from where you will be working and welding.


 Step 6:

Prep axle the truss will be welded onto by removing all mounts and paint/ rust.  Once the axle is prepped. Slide new axle under the vehicle and place on jack stands at the measurement of what the centerline height was at ride height also make sure it is set to the wheelbase you will be using.


 Step 7:

Using another jack stand or block of wood set under the pinion on the axle set the desired pinion angle of your build to ensure it does not get changed . Now place the truss on top of the axle so it is level with the ground and not tilted forward or backward (If your truss is angled it can cause upper arm mounts or the truss to twist off under load)  You may need to trim some material off of the truss to allow it to sit level depending on your wheelbase and pinion angle.


 Step 8:

With the truss set level on top of the axle tack weld The truss ends to the axle tubes.


 Step 9:

With the truss tacked into place Pull the rear axle from under the vehicle to allow more space for welding.   Once the axle is pulled from under the vehicle.  Heat the axle to about 400 degrees Start to weld the truss  pieces together and on to the axle .When welding, Start on one side of the axle, Weld a small amount, Then move on to the opposite side of the axle to allow each side to cool. This will help prevent warping. Grind and clean the rosette welds on the axle. If your truss has a bridge you may need to Trim the bridge depending on your pinion angle and weld it to the truss.  (Optional) Stitch weld the axle tubes to the ends of the casting for added axle strength and to prevent the axle tubes from twisting. If you have any Control arm mounts, Shock mounts, Coil over tabs, Track bar mounts that need to be welded on to the axle  you will need to place the axle under the vehicle on jack stands at ride height and desired wheelbase an weld them on at this time in their proper location for your specific build.  Once all of the welding is complete you will  wrap the axle in a welding blanket to slowly cool overnight.


 Step 10:

Clean the Truss and axle of any machining oils and Prep for paint or powder coat.


 Step 11:

Install the axle back under the vehicle and place on jack stands.  If you removed your fuel tank you can reinstall it at this point.   Install the wheels on the vehicle and tighten the lug nuts (Do not torque them down yet.)   Lift the vehicle and remove all of the jack stands and set the vehicle on the ground.  with the vehicle on the ground check all of the bolts and lug nuts are torqued to proper specs. we recommend drawing a line on the nut and bolt heads and where they are mounted for quick reference when checking for tightness after 50 miles .


 Check all bolts for tightness after 50 miles .


ArtecIndustries

Install videos are coming soon.

Reviews
5.00
1 review
Sort:
C
Chris Goodenow

Awesome truss

This truss worked great for the UD60. It fit absolutely perfect and didnt have to do any grinding to make it fit at all. Used it with the 1 stretch coil mounts and couldnt be happier with the results. Thanks

4 years ago
Q
Anonymous

Will this fit on a dynatrac pro 60 for jk? Need it for a 3 link mount.

A — Staff (Artec Team): We do not offer any truss's for any Dynatrac axles this was designed off a 3d scan from a Dana Ultimate 60 rear axle

Nov 27, 2020
Q
Anonymous

Could I use one of your three link brackets on top of this truss to mount an upper link on my UD60? Which one would you recommend?

A — Staff (Artec Team): you can use the JK4430 rear upper link bracket , or any of our current single brackets on the rear they may overhang a little on the rear of the truss but we will be making a Apex truss specific bracket in the future .

Apr 3, 2020

Artec Industries Jeep Giveaway Sweepstakes Abbreviated Rules

NO PURCHASE IS NECESSARY TO ENTER OR WIN. FULL NAME, PHONE NUMBER, EMAIL, AND ADDRESS ARE REQUIRED. GIVEAWAY NOT VALID IN RHODE ISLAND OR MINNESOTA.

Artec Industries Jeep Giveaway is open to U.S residents 18+ (or legal age in their state), excluding Rhode Island and Minnesota. Any Sponsor, Administrator, and their families excluded. No purchase is necessary.

Entries must include your name, phone number, and email and are limited to 500,000 entries per person.

Entry options: purchase of eligible products on dev.artecindustries.com, verified email opt-in, or AMOE on dev.artecindustries.com. Incomplete, late, or ineligible entries are void. Ten finalists will be randomly selected, from which one grand prize winner will be drawn. The grand prize is a 2024 4XE Rubicon (or cash alternative of $17,000). Winners must respond within 10 days and may be required to complete eligibility paperwork. Prizes are non-transferable and winners are responsible for taxes. By entering, you accept the rules and consent to release and publicity terms. Full rules and privacy policy are at /pages/promotion-terms-and-condition