Artec Industries
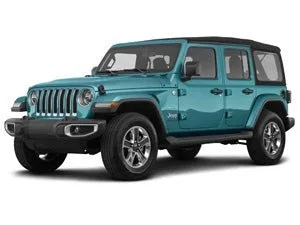
JEEP WRANGLER JL

JEEP WRANGLER JL
JLU 2018+

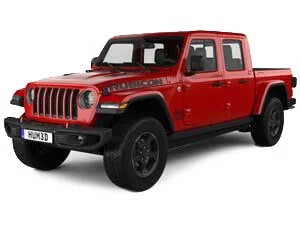
JEEP GLADIATOR JT

JEEP GLADIATOR JT
2020+

JEEP WRANGLER JK

JEEP WRANGLER JK
JKU 2007–2018

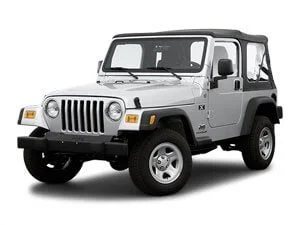
JEEP WRANGLER TJ

JEEP WRANGLER TJ
LJ 1997–2006

JEEP WRANGLER YJ

JEEP WRANGLER YJ
1987–1995

JEEP GRAND CHEROKEE ZJ

JEEP GRAND CHEROKEE ZJ
1993–1998

JEEP CHEROKEE XJ

JEEP CHEROKEE XJ
1984–2001

TOYOTA 4RUNNER

TOYOTA 4RUNNER
2014–2024

TOYOTA TACOMA

TOYOTA TACOMA
2016+

FORD SUPERDUTY

FORD SUPERDUTY

DODGE RAM

DODGE RAM

DANA 30

DANA 30

DANA 44

DANA 44

DANA 60

DANA 60

DANA 80

DANA 80

14 BOLT GM

14 BOLT GM

FORD 8.8

FORD 8.8

FORD 9 INCH

FORD 9 INCH

STERLING (FORD)

STERLING (FORD)

AAM

AAM

BRACKETS AND TABS

BRACKETS AND TABS

STEERING

STEERING

LINK KITS

LINK KITS

ROD ENDS AND PARTS

ROD ENDS AND PARTS

BUSHINGS AND PARTS

BUSHINGS AND PARTS

SUSPENSION HARDWARE KITS

SUSPENSION HARDWARE KITS

MOUNTS

MOUNTS

TOOLS

TOOLS

All Packages Jeep Packages Toyota Packages
Long Arms Bantam Series Sentinel Series GearUp Series Rocker Guards Ultimate Dana Axle Truss Bellypan Rebate Blog Community Partnership Affiliates
Contact Us About Us Find a Dealer Become a Dealer Dealer Resources Careers
Product Details
  • Made from 1/4" thick steel
  • CNC laser cut and CNC bent for precise fit
  • Engineered using 3D scan files
  • Directly replace your factory bumpstop
  • Utilizes OEM threading
  • Easy Installation
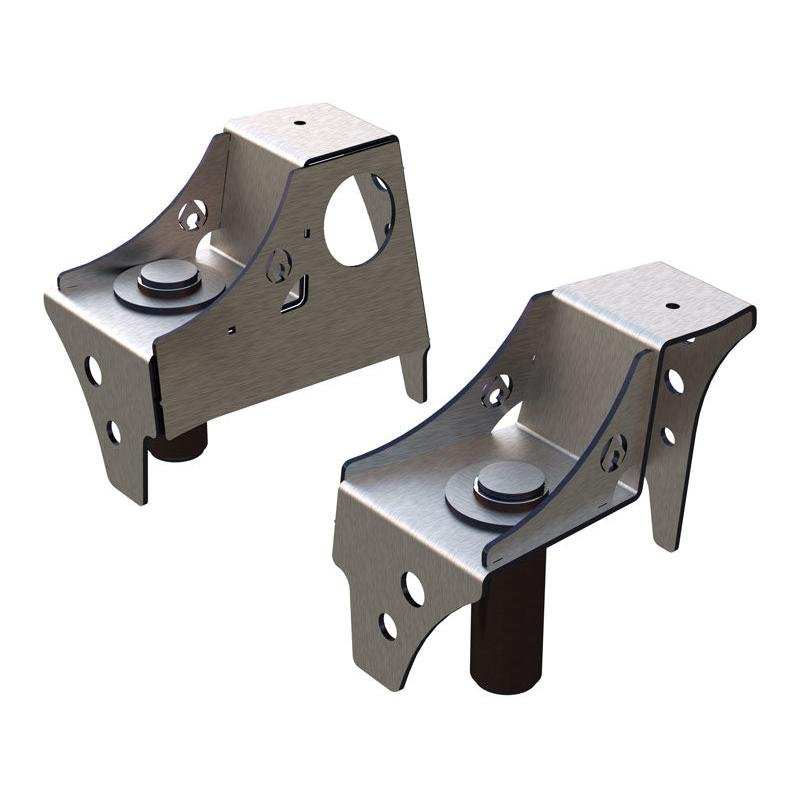
  • Gusseted between the coil bucket and shock mount for extra strength
  • Includes a 2.0" OD piece of DOM tubing
  • Choose factory or clevis style attachment for your shocks with this product
  • TJ/LJ direct replacement, upgrade for leaf-sprung vehicles transitioning to coil spring suspension
  • Made in the USA
  • *Requires welding and painting.
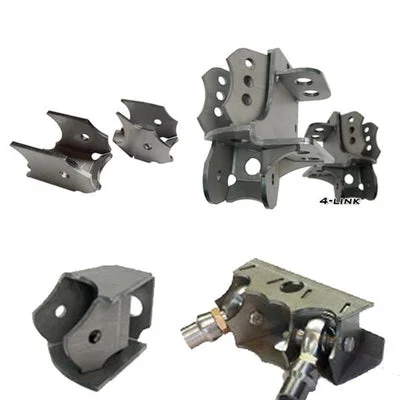
TJ Front Frame Coil Buckets for OEM bumpstops
Upgrade your vehicle suspension with Artec’s Heavy Duty Front Frame Side Coil Buckets. Made for those who want to build their suspension to their preference, these replacement coil buckets provide maximum strength and are easy to assemble. With laser-cut and CNC-bent pieces, this DIY kit is a breeze to install. Our design also complements the factory frame while providing a distinct look for off-road enthusiasts. Join the fusion of form and function with Artec Industries.
Install Instructions
ArtecIndustries

Install Instructions


THIS PART REQUIRES WELDING AND GENERAL FABRICATION SKILLS. ONLY COMPETENT WELDERS SHOULD ATTEMPT TO INSTALL THIS PART.


Tools Required :

Safety Glasses, Gloves, , Socket Set, Wrenches, Wheel chocks,  Cutting Tool of your choice (Sawzall, Grinder, plasma, cutting torch), , , Lug wrench, Wheel Lock Key (If you have wheel locks the guys at the tire shop probably lost the wheel lock key), Map gas Torch (Optional  but probably Required in Rust Belt States)   Anti seize, Blue Loctite, Cutting oil, Welder/ Welding PPE,


Step 1:

Inventory that you have all of the parts for your order If you are missing parts or have incorrect parts contact Artec Industries Immediately @ (855)-278-3299  M-F from 8am-5pm MST. If it is after those hours please Email Sales@Artecindustries.com


Step 2:

Loosen  the front lug nuts. (Do not fully remove them, Just break them free.)


Step 3:

Secure and properly block the rear tires of vehicle on a level surface .

Jack up front of vehicle and install jack stands under frame behind the lower link brackets. and keep a jack under the axle Temporally. Remove wheels from vehicle,  Remove front drive shaft from the axle ,  Remove the brake calipers and rotors (Set the rotors on a flat surface so they do not warp),  Hang the calipers from the body with some bungee cords (Do not let the calipers hang freely from the brake lines this can damage them.)


Step: 4

Remove the coil spring retainers from the axle,   Completely remove the  Shocks the vehicle and Remove, sway bar end links, and Track bar from axle side of vehicle .


Step 5:

Using a jack lower slowly lower the axle to remove the coil springs.  Raise the axle back up and place jack stands under the axle.


Step 6:

Using a tape measure from front of frame to center of coil mount  and center of shock mount record those measurements for later. 


Step 7:

Remove the rubber splash guard from the lower portion inside of the fender wells, Once the rubber liners are removed you will want to unclip and move any lines or harnesses that are around the mounts to ensure they are protected and do not get cut or damaged . (You can remove the front fenders from the vehicle for more room to work if you would like but it is not needed. )  


Step 8: 

Cut off the existing shock/coil mount from the vehicle and grind the area smooth to ensure it is free of any debris, paint,  or rust so it is prepped for welding


Step 9:

Open the Bag with the small disk and set them out ,   You will take the 2 smallest disk with the hole bored into th center and weld the supplied nut to the center of those parts.    Then Weld those disk to the bottom of the long tube with the nut from the disk on the inside of the tube the rest of the round disk can be set aside for later.


Step 10:

You will want to stand the main bracket upright so the front and back legs are contacting the bench. (Use welding magnets to help)   Slip the long tube through the hole on the top of the coil mount. (The opening on the coil mount may need to be cleaned up with a file to get the tube to slip into place.)  The long tube should be contacting the bench and you should have roughly 1/2" of tube sticking up through the top of the main part of the coil mount.  Take the TJ2002-5 (large disk with large hole cut out )  slip this overtop of the  where it protrudes out of the top of the coil mount and weld it to the top of the coil mount and weld the tube to the disk as well. Then take the small solid disk and weld it to the top of the tube. 


Step 11:

Place the TJ2002-3 (large side plates) onto the tabs on the  coil mounts and tack weld into position

Now take the small gusset  an tack weld it in position on the coil tower once both brackets are tacked into place you can fully weld them to the coil tower. 


Step12 :

 Using the measurements you have previously taken  center the coil mount and shock mount as much as you can and weld into place on the frame .  Once the welding is completed and parts have cooled spray with Primer and Paint to keep parts from rusting . 


Step 13:

Remove the factory bump stop cup  and bump stop cup from the Jeeps OEM coil bucket and bolt it onto the tube on the TJ2002 shock tower.   Re install the Rubber inner fender liner into the fenders .

Now Using a jack raise the axle off of the jack stands and remove them temporarily to lower the axle and insert the coil springs then raise the axle back up onto the Jack stands .  With the axle supported reinstall the coil spring retainers.


Step 14:

Install the Shocks,  Track bar, Sway bar end links onto the vehicle .

Install the rotors and calipers onto the Jeep torque caliper bolts to 11ftlbs .   Then install the wheels and tires, tighten lug nuts.


Step 15:

Lower the Jeep off of the Jack stands and onto the ground.  Once the Jeep is on its own weight.

Torque the lug nuts to 95ft lbs 

Torque Track bar to 55ft lbs 

Torque Shocks to 20ftlbs

Torque Sway bar links to 75ft lbs.


After 50 Miles torque all bolts to their proper specs


ArtecIndustries

Install videos are coming soon.

Reviews
5.00
6 reviews
Sort:
D
Donald

Machine operator

It was well worth it I just welded the assy. together and havent put the part on the frame. Right out of the box was pretty cool metal and design. Had to add partial metals before welding on square tubing. Im glad that I had the great choice to choose those part because the price and the cool looking parts.

5 years ago
m
michael ohandley

owner

absolutely fantastic product and a livesaver for us. Easy install thank you

5 years ago
O
Otto Zwicker

I havent had a chance to get them installed but they are beautiful. Really well built all parts fit together perfectly like a puzzle. Saved me so much time in fabricating brackets. Highly recommended only thing that would make them better is if Artec would put them on for me.

6 years ago
f
frederick pflanz

Customer

These coil buckets are heavy duty and well built. Putting them together was very easy. Looks like the OEM set up but much better.

6 years ago
D
Dylan

Fit and finish

I am absolutely impressed with how these look from opening the box to getting them together for welding. Work of art thank you enjoy your products i will be buying more

6 years ago
S
Sloan

Great Solution

I used these in a coil conversion on a YJ. Solved Coilshock packaging issues and quality is outstanding. If I would have tried to build something like this I would have spent way too much time and it would not have came out nearly as nice. Very affordable for all the problems it solved.

6 years ago
Q
Anonymous

Is this version of the buckets able to be used with 2" hydro bumps? As the version designed for that use seems to be discontinued.

May 4, 2022
Q
Anonymous

Do you no longer offer this bucket with the taller shock tower?

A — Staff (Artec Team): The Extreme Travel variation of this coil bucket was discontinued a little over a year ago

May 2, 2021
Q
Anonymous

Do you provide an upper coil bucket that addresses the 1.6" width difference when used with your dana 60 truss?

A — Staff (Artec Team): We did in the past but due to lack of sales and interest in them they were discontinued after a few years.

Jun 7, 2020
Q
Anonymous

Is the back of this bracket flat? I am looking to add this to a Willys wagon where the frame edge is straight up and down.

A — Staff (Artec Team): the back side of this bracket is flat

Feb 6, 2019
Q
Anonymous

Is there any reason I can't see why these wouldn't work for a 2-3" front stretch?

A — Staff (Artec Team): You could certainly make them work for that, we just have them cut to fit the factory, but like 90% of our products, they can be easily modified to work in more ways than originally designed.

Apr 23, 2018

Artec Industries Jeep Giveaway Sweepstakes Abbreviated Rules

NO PURCHASE IS NECESSARY TO ENTER OR WIN. FULL NAME, PHONE NUMBER, EMAIL, AND ADDRESS ARE REQUIRED. GIVEAWAY NOT VALID IN RHODE ISLAND OR MINNESOTA.

Artec Industries Jeep Giveaway is open to U.S residents 18+ (or legal age in their state), excluding Rhode Island and Minnesota. Any Sponsor, Administrator, and their families excluded. No purchase is necessary.

Entries must include your name, phone number, and email and are limited to 500,000 entries per person.

Entry options: purchase of eligible products on dev.artecindustries.com, verified email opt-in, or AMOE on dev.artecindustries.com. Incomplete, late, or ineligible entries are void. Ten finalists will be randomly selected, from which one grand prize winner will be drawn. The grand prize is a 2024 4XE Rubicon (or cash alternative of $17,000). Winners must respond within 10 days and may be required to complete eligibility paperwork. Prizes are non-transferable and winners are responsible for taxes. By entering, you accept the rules and consent to release and publicity terms. Full rules and privacy policy are at /pages/promotion-terms-and-condition