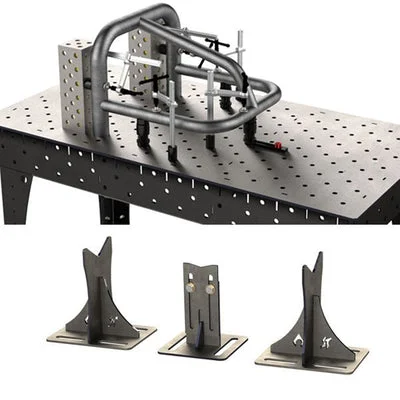
THIS PART REQUIRES WELDING AND GENERAL
FABRICATION SKILLS. ONLY COMPETENT WELDERS SHOULD ATTEMPT TO INSTALL THIS PART.
Tools Required :
Safety Glasses, Gloves, , Socket Set, Wrenches, Wheel
chocks, Cutting Tool of your choice
(Sawzall, Grinder, plasma, cutting torch) Tie rod separator, Needle Nose
Pliers, Large Hammer, Lug wrench, Wheel Lock Key (If you have wheel locks the
guys at the tire shop probably lost the wheel lock key), Map gas Torch
(Optional but probably Required in Rust
Belt States) Anti seize, Blue Loctite,
Cutting oil, Welder/ Welding PPE.
Step 1:
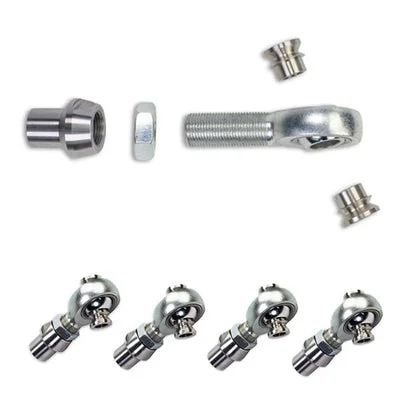
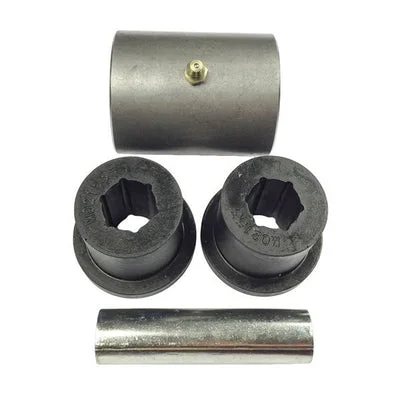
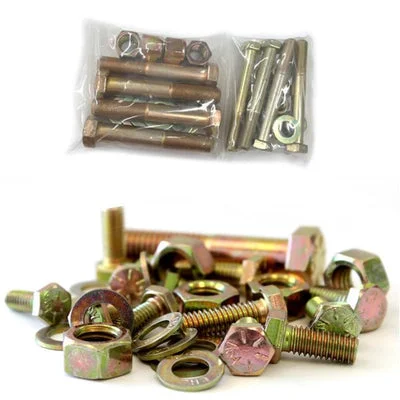
Inventory that you have all of the parts for your order If you are missing
parts or have incorrect parts contact Artec Industries Immediately @
(855)-278-3299 M-F from 8am-5pm MST. If
it is after those hours please Email Sales@Artecindustries.com
Step 2:
Place wheel chocks at the rear wheels of the vehicle. Break free lug nuts on rear wheels. (Do not fully loosen or remove lug nuts yet.)
Step 3:
Jack up the front of the vehicle and set the axle on Jack
stands.
Step 4:
Remove the front wheels from the vehicle, An set to the
side.
Step 5:
Remove the steering stabilizer from the vehicle , remove the
passenger side sway bar end link, Remove cotter pins on Tie rod ends and drag
link, Then loosen the castle nuts. (Leave the castle nuts installed by a few threads ! ) Grab your Tie rod Separator, wedge it
between the knuckle and the base of the tie rod Hit on the end of the Tie rod
separator with your Big Freaking Hammer until it pops loose Then repeat on the
other side and with drag link . Remove
the castle nuts and the Drag-link and tie rod should drop off the Vehicle.
( Tip : If you have a small Map gas
torch heat the Castle nuts and heat the
knuckle some this will help break parts free in the rust belt states )
Step 6:
With the Steering removed from the vehicle no remove the
track bar from the vehicle. Now you can
cut off the factory track bar mount on and sway bar bracket on the Passenger
side of the axle .
Step 7:
Prep the axle the axle for welding by removing and paint/
rust. in the area from the C for the knuckle over 9 inches .
Step 8:
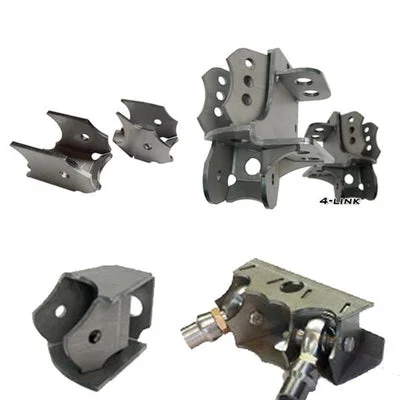
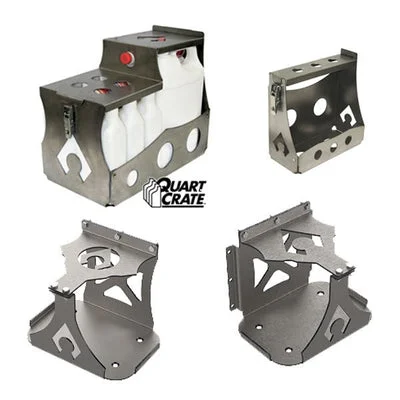
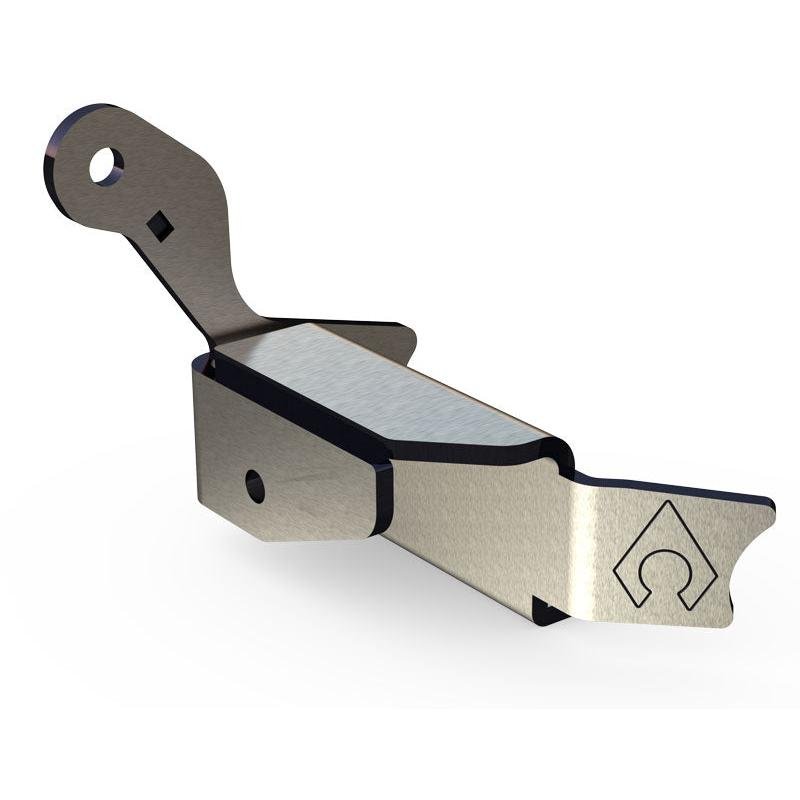
Tack weld TJ2016-3 to the TJ 2016-2 . Slip the TJ2016- 1 tab into the TJ2016-2
keyed slot (for proper orientation the Artec logo that is laser etched will be
facing up on the TJ2016-1 . Insert your
track bar into position on the mount and bolt then tack weld the TJ2016-2 and
TJ2016 together to set the mounting width
. Then remove the track bar from
the bracket and fully weld the bracket together.
Step 9:
Roll the TJ2016 Track bar mount into position on the axle,
The top of the bracket will contact the
bottom of the coil spring mount and the inside of the sway bar mount will
contact the side of the coil spring mount.
With the track bar mount in position fully weld it into place .
Step 10:
Clean the part of any machining oil, Prime and Paint the
part and bare areas on the axle.
Step 11:
Install the track bar into the vehicle, Install Passenger
side Sway bar end link. Then reinstall the steering on the vehicle . Now install the wheels. (Do not fully tighten all of the bolts yet) Jack up the vehicle and remove the jack
stands so you can lower vehicle onto the ground. With the vehicle on the ground
tighten all of the bolts and torque the lug nuts.
Step 12:
Take the vehicle to an alignment shop to have an alignment
performed to ensure everything is in spec.
Check all bolts for tightness after 50 miles
.