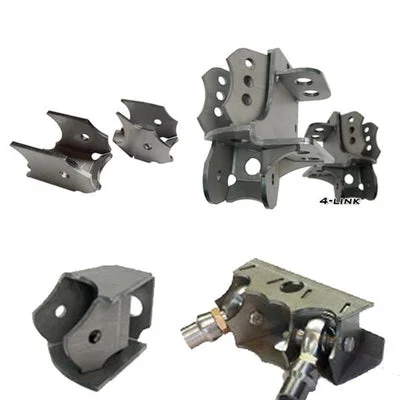
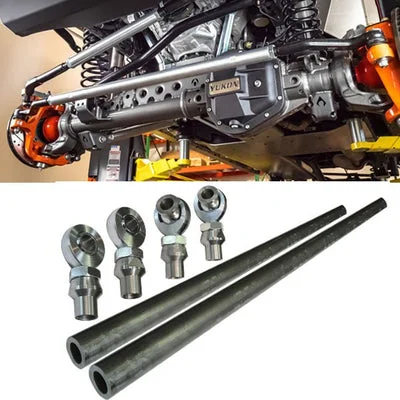
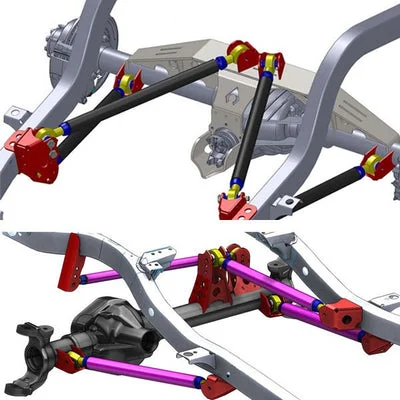
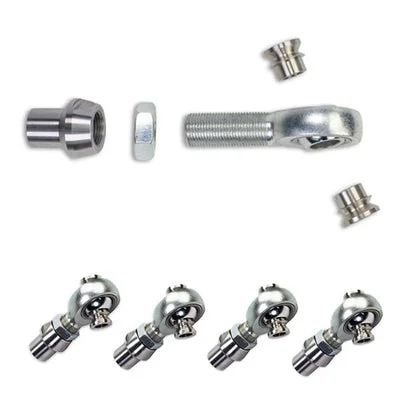
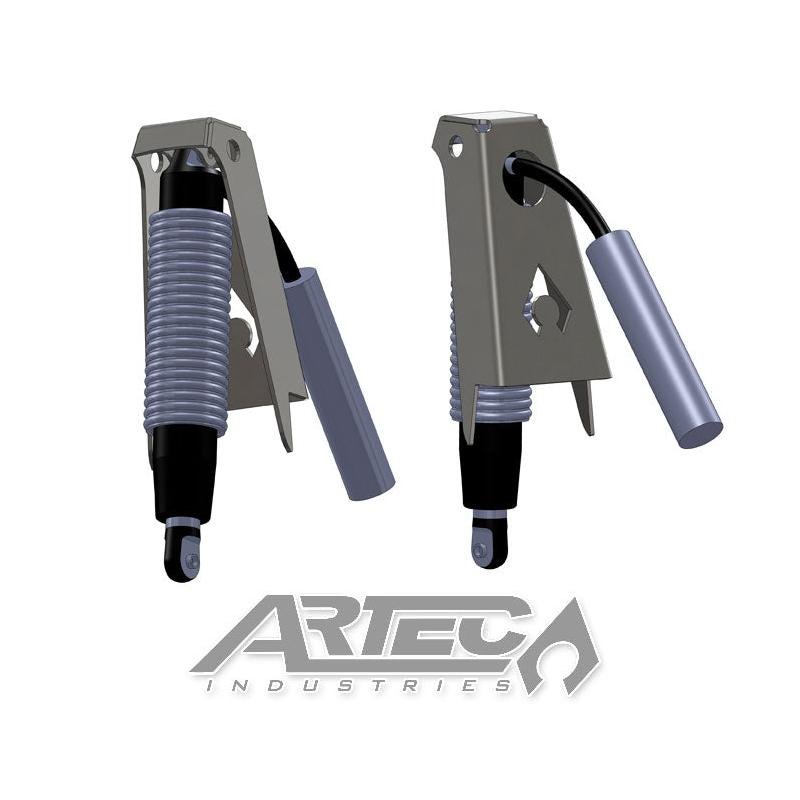
This part requires welding and fabrication
skills if you are not confident in your abilities please take to an Off-road
shop to install this part.
Tools Required :
Safety Glasses, Gloves,
Socket Set, Wrenches, Wheel chocks, Cutting Tool of your choice (Sawzall,
Grinder, plasma, cutting torch) Welder.
Step 1:
Inventory that you have all of the parts for your order. If you are missing
parts or have incorrect parts contact Artec Industries Immediately @
(855)-278-3299 M-F from 8am-5pm MST If it is after those hours please Email
Sales@Artecindustries.com
Step 2:
Place wheel chocks in front of and behind the wheels on the opposite
end of the vehicle from where you are working at.
Step 3:
Remove shocks from the vehicle (If shocks are on vehicle.)
Step 4:
Mount shock to the tabs for the shock tower and insert tabs
into position on the shock tower (Make sure the
mounting hardware can be accessed via access circular window cut out of the
shock tower.) Tack weld the tabs
into place. Now remove the shock and
fully weld the tab into place.
If you are uncomfortable with the above mentioned method, You
can measure the mounting width of your shock and weld the tabs into place
without the shock.
(TIP : Use blue painters tape on the shock shafts to protect
them from weld spatter. If you get spatter on the shock shafts it can damage
them. Artec Industries is not responsible
for any damage to shocks or shock bushings.)
Step 5:
Cut the existing shock tower off of the vehicle (if
equipped) and prep area you plan on mounting shock towers for welding.
Step 6:
Weld the shock towers into desired position.
Step 7:
Once the Shock towers are cool. Clean the surface from any
machining oil, Prime with a self-etching primer and paint.
Step 8:
Install shocks into towers and on the vehicle.
Check bolts for tightness after 50miles and tighten if
needed.