
E
Ernie Armijo
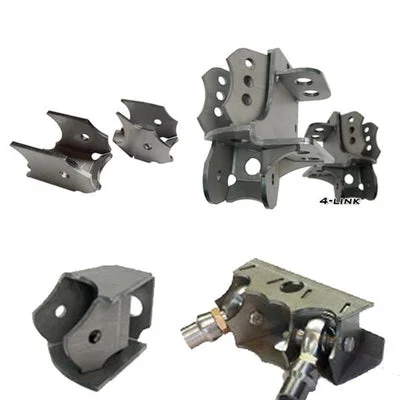
Jk coil perches
These are a great product so easy to build and use came out great thanks again artec for another great product
5 years ago
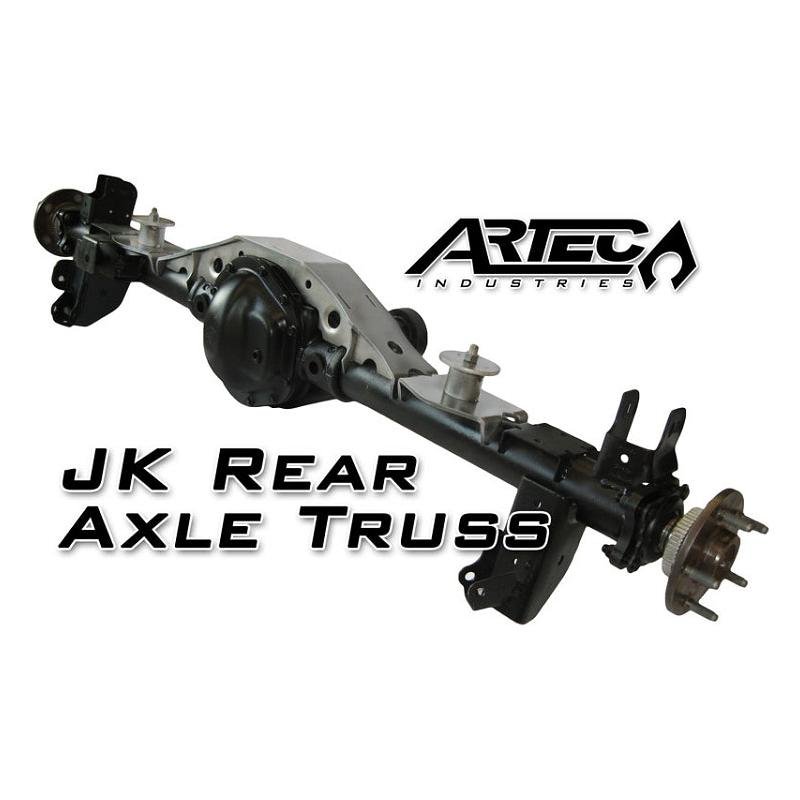

This Kit requires Welding and Fabrication skills,
If you are not confident in your abilities please have this product installed
at an Off-road shop.
Tools Required :
Safety Glasses, Jack, Jack Stands, Socket Set,
Wrench set, framing square(X2), Tape measure, drift punch,
Hammer Angle finder, Welder, Welding PPE, Cutting tools
(Example Sawzall, Grinder, Cutting Torch,
Plasma cutter)
Step 1:
Chock the front wheels of the vehicle.
Step 2:
Break the rear lug nuts free
(Do not completely remove the lug nuts.)
Step 3:
Jack up rear of the vehicle and set the frame
securely on jack stands. Keep the Jack under the axle
(You'll need to us this to help control the axle
dropping later on.)
Step 4:
Remove lug nuts and wheels from vehicle.
Step 5:
Unbolt the shocks, rear track bar, Sway bar
end links, and rear driveshaft from the axle housing.
Step 6:
Use the jack to slowly lower the axle down the
coil springs should be able to be pulled out easily
(Keep an eye on the rear brake line make sure it
does not get tight or stretch.)
Step 7:
Use an angle finder to check the angle of you
current spring plates. (Record this number for later on)
Hold a framing square on the center of the
coil spring perches and take a measurement from center to center (Record this number for later also)
Now cut off the current spring plates from the
axle and grind the area smooth to prep for welding.
Step 8:
Install the coil plate, Use the
center to center measurement you took in step 7 to position the coil plates
, Now using the angle finder place it on top
of the coil plate and tilt the coil plates to get the angle you had recorded in
step 7. Then Weld the coil mounts into place.
(The coil plate is offset towards the front of the
vehicle, So make sure the larger part of the plate hangs over the front of the
axle. )
Step 9:
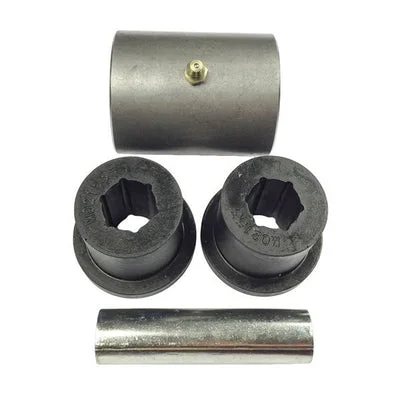
Weld the center tubes to the coil bucket (make sure they are flush with the
bottom of the coil bucket when welding into place.) Tack weld the supplied bolt from the hardware
kit to the bottom of the small round disk. Weld the Small disk on
top of the round tube (with
bolt threads facing up) The big disk will be used in next step .
Step 10:
Paint the coil brackets with some self-etching
primer and paint
Step 11:
Insert the coil springs onto coil
plates, Now slip the large disk inside of coil and have the bolt
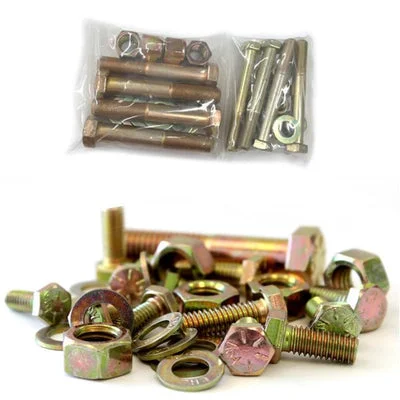
from the small tube slip through the hole. Use the nylock nut from
the hardware kit to tighten the round disk. Once this is done you
can raise the axle up into position with the jack.
Step 12:
Install the shocks, Sway bar links , Track bar
and drive shaft onto rear axle. Tighten the bolts finger tight .
(You may need to use a drift punch to help getting
bolts aligned when reinstalling the track bar and shock bolts)
Step 13:
Install the wheels and tighten the lug
nuts (do not torque them
yet) Raise the Vehicle up
off the jack stands with the jack, Remove the Jack stands and lower vehicle
onto the ground .
Step 14:
Torque shock bolts, track bar bolts, sway bar
link bolts, Then lug nuts to factory specs.
After 50 miles or a few trail runs (whichever happens first) check all bolts for proper torque .
Install videos are coming soon.
These are a great product so easy to build and use came out great thanks again artec for another great product
Perfect bracket for my Jk to TJ axle conversion. Arrived within a couple of days.
If you have any lift above 3 inches on your Jeep this is a must. Fixed the Bowing in my rear springs quality product at a great orice
Mounts are solid and are the best way to correct the spring angle if you raised the jeep and replaced the control arms the only thing I found is that the tubing used is to big for terra flex springs so you will either to use a different size tube or use a die grinder to open up the bottom of the spring itself.
No questions yet. Be the first to ask.
4.83 average
1,334 reviews
Artec Industries Jeep Giveaway Sweepstakes Abbreviated Rules
NO PURCHASE IS NECESSARY TO ENTER OR WIN. FULL NAME, PHONE NUMBER, EMAIL, AND ADDRESS ARE REQUIRED. GIVEAWAY NOT VALID IN RHODE ISLAND OR MINNESOTA.
Artec Industries Jeep Giveaway is open to U.S residents 18+ (or legal age in their state), excluding Rhode Island and Minnesota. Any Sponsor, Administrator, and their families excluded. No purchase is necessary.
Entries must include your name, phone number, and email and are limited to 500,000 entries per person.
Entry options: purchase of eligible products on dev.artecindustries.com, verified email opt-in, or AMOE on dev.artecindustries.com. Incomplete, late, or ineligible entries are void. Ten finalists will be randomly selected, from which one grand prize winner will be drawn. The grand prize is a 2024 4XE Rubicon (or cash alternative of $17,000). Winners must respond within 10 days and may be required to complete eligibility paperwork. Prizes are non-transferable and winners are responsible for taxes. By entering, you accept the rules and consent to release and publicity terms. Full rules and privacy policy are at /pages/promotion-terms-and-condition