
J
Jason
7 years ago
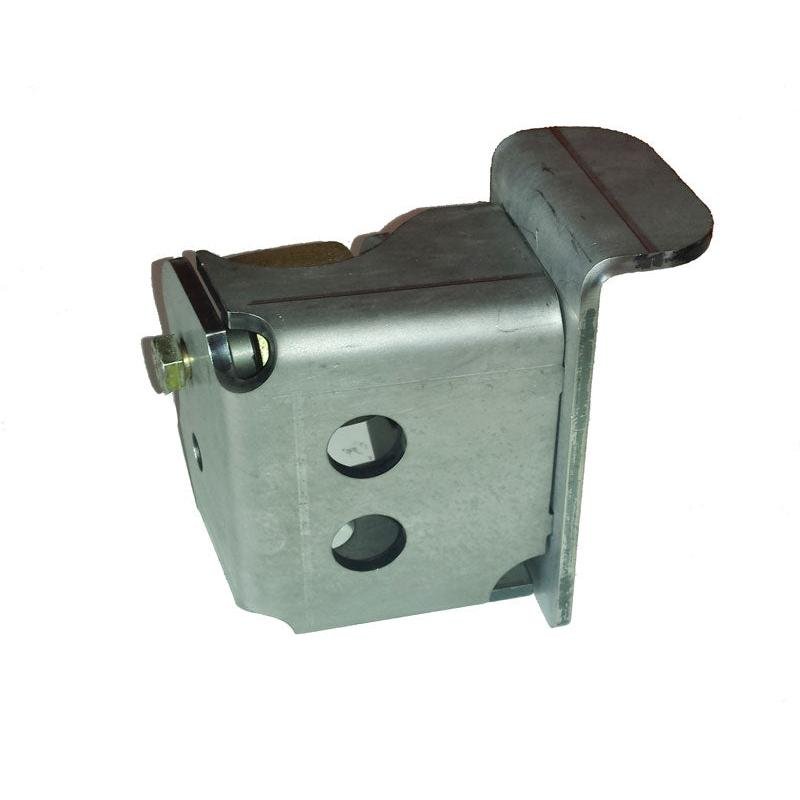
Basic Instructions
This guide is only intended to show placement. Please use all appropriate methods to ensure quality welding and safety.


Install videos are coming soon.
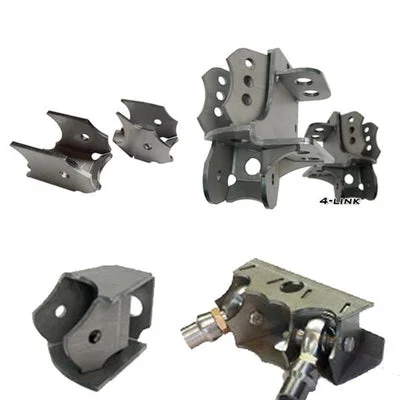
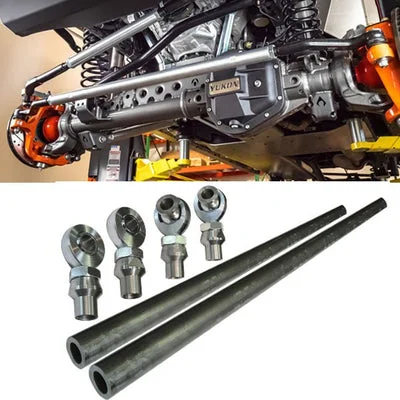
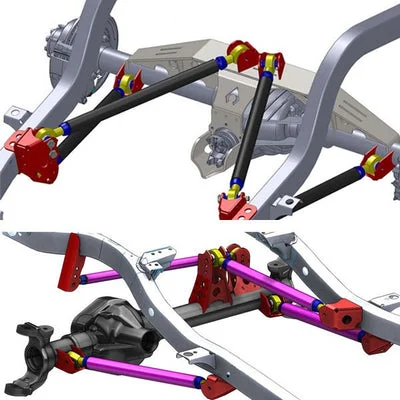
I purchased this bracket to speed up my JKU Super Duty swap. Bracket is 14 very well designed and fit the JK perfect. While installation of this part is pretty straight forward like most products I buy from Artec I would have liked to see some instructions with pics. Online photos and CAD pics did help just would have been nice to have paper in hand while in the shop to save a search on the web
Installed this as intended on my buddies 13 jk. Fit very nicely and made building the three link super easy.
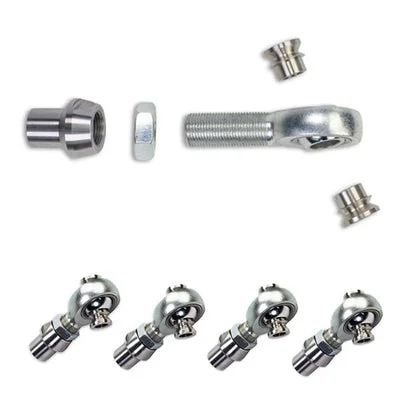
A — Staff (Artec Team): 2-5/8" mounting width
A — Staff (Artec Team): This bracket fits a 2 5/8" (2.625 inch) wide joint.
4.83 average
1,334 reviews
Artec Industries Jeep Giveaway Sweepstakes Abbreviated Rules
NO PURCHASE IS NECESSARY TO ENTER OR WIN. FULL NAME, PHONE NUMBER, EMAIL, AND ADDRESS ARE REQUIRED. GIVEAWAY NOT VALID IN RHODE ISLAND OR MINNESOTA.
Artec Industries Jeep Giveaway is open to U.S residents 18+ (or legal age in their state), excluding Rhode Island and Minnesota. Any Sponsor, Administrator, and their families excluded. No purchase is necessary.
Entries must include your name, phone number, and email and are limited to 500,000 entries per person.
Entry options: purchase of eligible products on dev.artecindustries.com, verified email opt-in, or AMOE on dev.artecindustries.com. Incomplete, late, or ineligible entries are void. Ten finalists will be randomly selected, from which one grand prize winner will be drawn. The grand prize is a 2024 4XE Rubicon (or cash alternative of $17,000). Winners must respond within 10 days and may be required to complete eligibility paperwork. Prizes are non-transferable and winners are responsible for taxes. By entering, you accept the rules and consent to release and publicity terms. Full rules and privacy policy are at /pages/promotion-terms-and-condition