Artec Industries
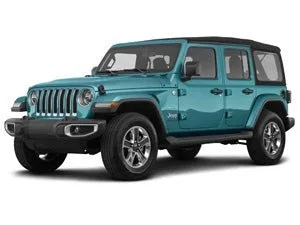
JEEP WRANGLER JL

JEEP WRANGLER JL
JLU 2018+

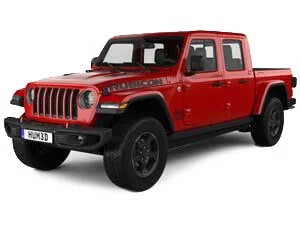
JEEP GLADIATOR JT

JEEP GLADIATOR JT
2020+

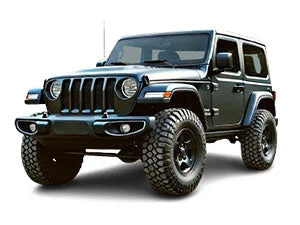
JEEP WRANGLER JK

JEEP WRANGLER JK
JKU 2007–2018

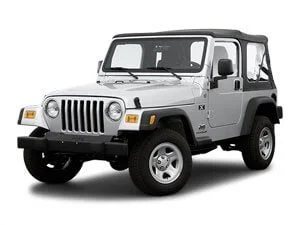
JEEP WRANGLER TJ

JEEP WRANGLER TJ
LJ 1997–2006

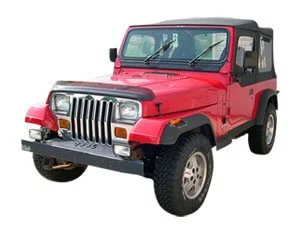
JEEP WRANGLER YJ

JEEP WRANGLER YJ
1987–1995

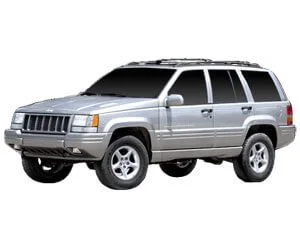
JEEP GRAND CHEROKEE ZJ

JEEP GRAND CHEROKEE ZJ
1993–1998

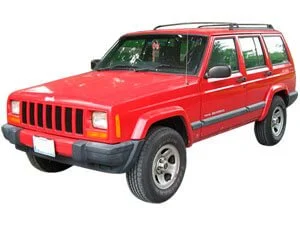
JEEP CHEROKEE XJ

JEEP CHEROKEE XJ
1984–2001

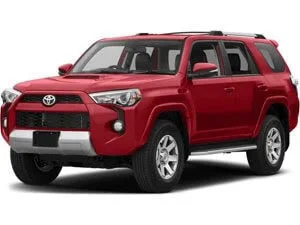
TOYOTA 4RUNNER

TOYOTA 4RUNNER
2014–2024

TOYOTA TACOMA

TOYOTA TACOMA
2016+

FORD SUPERDUTY

FORD SUPERDUTY

DODGE RAM

DODGE RAM

DANA 30

DANA 30

DANA 44

DANA 44

DANA 60

DANA 60

DANA 80

DANA 80

14 BOLT GM

14 BOLT GM

FORD 8.8

FORD 8.8

FORD 9 INCH

FORD 9 INCH

STERLING (FORD)

STERLING (FORD)

AAM

AAM

BRACKETS AND TABS

BRACKETS AND TABS

STEERING

STEERING

LINK KITS

LINK KITS

ROD ENDS AND PARTS

ROD ENDS AND PARTS

BUSHINGS AND PARTS

BUSHINGS AND PARTS

SUSPENSION HARDWARE KITS

SUSPENSION HARDWARE KITS

MOUNTS

MOUNTS

TOOLS

TOOLS

All Packages Jeep Packages Toyota Packages
Long Arms Bantam Series Sentinel Series GearUp Series Rocker Guards Ultimate Dana Axle Truss Bellypan Rebate Blog Community Partnership Affiliates
Contact Us About Us Find a Dealer Become a Dealer Dealer Resources Careers
Product Details
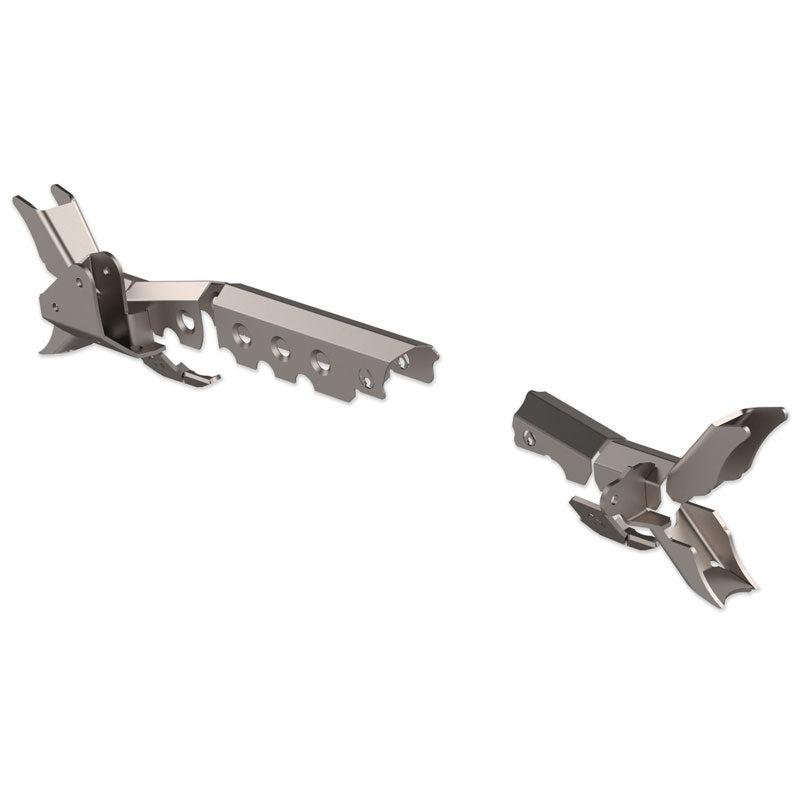
  • PATENTED APEX truss: increased rigidity with peaked top design
  • CNC precision laser-cut: lightweight, strong 1/8" mild steel construction
  • CNC precision bent: ensures excellent fitment, easy welding
  • 3D-modeled design: amazing fit, clearances with surrounding components
  • 70% less welding: less warping, faster turnaround, lower costs
  • Bent long seams: minimal time spent welding together
  • APEX design: end-to-end axle reinforcement, industry first
  • Dimpled holes: weight reduction, rigidity, and strength
  • Weldable with MIG: requires moderate pre/post-heating
  • Worry-free wheeling: up to 37" tires on stock JK axles**
  • Strengthens weak axle sections: enhances durability
  • Low profile design: compatible with slightly lifted vehicles***
  • 1/4" steel LCA Skids, Inner C Gussets, HD Trackbar Brackets
  • Reinforces or replaces weak axle components
JK APEX Front Axle ARMOR KIT
Upgrade your factory JK front axle with Artec Industries' comprehensive armor kit, designed to reinforce the weakest parts and ensure maximum durability. The kit includes the APEX Front Axle Truss, Front LCA Skids, Inner C Gussets, and APEX Heavy Duty Trackbar Bracket. The JK APEX Front Axle Truss features a unique, peaked shape top for extra rigidity, weight savings, and simplified installation. This design extends underneath the coil perches, forming a complete end-to-end truss—an industry first in OEM axle applications. JK Front LCA Skids provide serious abuse protection for your JL front axle lower control arm brackets. These 1/4" thick, precision-cut components ensure easy installation and enhanced durability. JK Inner C Gussets reinforce your front Dana 30 or 44 JK Inner C's, adding rigidity with 1/4" thick, precision-cut components. JK APEX Trackbar Brackets address the weak factory axle side tracbar bracket, a common cause of "death wobble." Designed for compatibility with the APEX Truss, these heavy-duty brackets eliminate issues and raise your steering stabilizer for greater clearance. Choose between STOCK HEIGHT for smaller lifts with adjustable tracbars or RAISED HEIGHT for taller lifts requiring a DRAG LINK FLIP. The Artec Industries armor kit offers the ultimate protection and easy insurance for your factory Jeep axle.
Install Instructions
ArtecIndustries

Install Instructions

While we're working on the detailed instructions, here's some tips on installing your APEX truss. Refer to online pictures for orientation of the truss.

STEP 1. Unpack contents of shipment. Remove axle from vehicle for best results and easiest installation. Prior to mockup make sure axle is clean and uninstall any oem and aftermarket bolt-on accessories that may conflict with truss installation. Remove axle breather hose and uninstall any electric locker wires from casting. This area will be welded so care should be taken to prevent these components for melting.

STEP 2. Place parts 1 and 3 on the axle around the pumpkin. These parts should drop right on and self-center. Part 2 requires a little more work. If you are keeping your factory trackbar bracket, you will need to remove some material from part 2. Using a cutoff wheel, cut along the laser etched lines which make a trapezoid shape. If you are using a replacement Artec trackbar bracket, no cutting of the truss is needed. Place the tip of the truss that contacts the coil bucket on the coil bucket and rotate the truss down sliding past the UCA bushing. It may require a little force to pop past the bushing. Part 4 goes under the passenger side coil bucket. If you are keeping the factory trackbar bracket, you'll need to trim this bracket on the etch lines as well. Once trimmed, the truss piece will slide in from the backside over the shock brackets...it may take some work to shimmy it in there. If removing the factory trackbar bracket and using an Artec trackbar bracket, this piece can easy slide in from the front. Part 5 slides in from the front under the driver side coil bucket.

STEP 3. Using a marker or paint pen, indicate the areas on the axle where the truss touches the axle to prepare for welding. Remove truss pieces from axle. Using an angle grinder with either a flapper disc or wire wheel brush, clean the surface of the axle tube, casting, upper control arm mount, and coil perch until bare steel is exposed. Clean surfaces on drivers side casting, tube, and coil perch in a similar fashion. Repeat step 2 and place all truss pieces back on axle.

STEP 4. Prior to welding, ensure that the bottoms of all the truss pieces are in a straight line all together. The long truss can sag a little near the UCA mount so push down on the part over the casting and it'll straighten out. Place tack weld on truss pieces to hold all in place. Double check all truss pieces are straight.

STEP 5. Begin welding small strips of truss that touch the axle tube. You want to move around to different parts of the axle as you weld so you don't heat up areas too much. Place a welding blanket over welds so they do not cool too quickly.

STEP 6. To weld truss to cast section with best results, preheat casting evenly around where truss contacts to approximately 400 degrees. DO NOT HEAT UNTIL GLOWING RED AS THIS MAY DAMAGE THE CASTING. Once preheated, weld truss to casting before it cools. For best results, use a needle scaler or peening hammer to relieve the weld directly after welding. Post heat the area to approximately the same temp you used to preheat. Wrap axle in a welding blanket to slow the cooling process, the cooling should be slow (18-24hrs.) and uniform. (The idea behind this method is to relieve the stresses in the materials prior to welding, and ensure that the plate steel does not cool quicker than the cast resulting in stress cracks.)

STEP 7. When completely cooled, check for any cracks in weld especially around the casting. If cracks are discovered repeat the necessary steps above, grinding out any cracked welds and prepping the area.

STEP 8. Once axle is ready, paint truss and axle where bare steel is exposed to prevent rusting. After paint is dry, reinstall axle breather hose, electric locker wire, and any other components. Install axle according to manufacturers specs.


Full Instructions Coming Soon

Click image above to view Installation Instructions

ArtecIndustries

Install videos are coming soon.

Reviews
5.00
6 reviews
Sort:
J
Jeffrey James Blanton

Flawless Fit and Design

Purchased this kit for my wifes 11 jk bought the rear one for the dana 44 as well. I have to say absolutely thrilled with how it went Ill be honest I never looked at any instructions but by just looking at it next to the axles it just all clicks Went together smooth and the quality is out of this world in my opinion. Will definitely be going with more from then for future projects.
4 years ago
J
James Bennack

owner

We used the Apex front axle Armor Kit on a new Spicer Ultimate 44 that has thicker tubes and thicker brackets a little grinding and fitting and it was no problem. We did not use the Apex track bar plate since the Ultimate 44 has a beefy mount and this Jeep was already set up for that specific mount and geometry from a previous Ultimate 44 that was damaged at Moab. Great product great service.

5 years ago
B
Brantley Ping

Dana 30 Confidence Booster

I wanted to build my JKU Dana 30 for 37s overlanding and moderate trails. So we added a 4.56 ring and pinion a truetrac chromoly shaft a new diff cover and this axle truss system from Artec. Right out of the box you can tell this is one tough kit. It lined up perfectly on the axle and welded up just fine. Waiting for the new paint to cure before we put it back under the Jeep but I have little doubt this beefed up Dana 30 will handle 37s just fine. Definitely recommend this kit if youre wanting to run a larger tire. Likely overkill for 35s but a must for 37s.

5 years ago
C
Cristian Martinez

Apex Armor

Amazing product Wish I wouldve gotten it sooner Very well made If youre looking into a kit look no further

6 years ago
m
marcus barrett

Excellent purchase NO remorse

After not knowing much about the Wrangler industry and not knowing all of the different brands. One of the forums directed me to Artec. I am happy I went with Artec. This piece went together easily. All of the pieces lined up and fitment was simple. The instructions were accurate. The welding portion took about 2 hours this was with the axle off.I would suggest to have a better diagram for what should be cut out of the existing axle of Dana 3044 before welding. A lot of this is left to the unknown for the newbie. I called a few times and noticed the small frustration from the service person. (To his defense I did call 3 times). However if there was a better diagram at the time or video that would have alleviated the time spent.I would absolutely recommend the Artec Truss as for fit and quality. The item is beefy where it should be and thinner in the spots that require no need for extra weight. The gussets fit seamlessly.Put a bolt in the track bar when welding the piece together so that you know you have a good alignment when finished. If I can line this truss system up I would suspect almost anyone can...as I am less skilled then most that work on their Jeeps but I assume more skilled then others.The hardest part for the install of the axle afterwards is the first bolt getting the control arm...but it is a very nice fit so make sure that you put on the control skids nicely when welding.I will definitely order more parts from Artec as I can see the quality in this part.
6 years ago
R
Rich

Truss

The fit was very good This is a great product and cut down on so much welding. This was installed on a Dana 44 and I can confidently run 37s without concern now The factory track bar bracket was pathetic in comparison to this stout set up The truss is low profile and I had zero clearance issues on a low lift Thanks for making a great product

6 years ago

No questions yet. Be the first to ask.

Artec Industries Jeep Giveaway Sweepstakes Abbreviated Rules

NO PURCHASE IS NECESSARY TO ENTER OR WIN. FULL NAME, PHONE NUMBER, EMAIL, AND ADDRESS ARE REQUIRED. GIVEAWAY NOT VALID IN RHODE ISLAND OR MINNESOTA.

Artec Industries Jeep Giveaway is open to U.S residents 18+ (or legal age in their state), excluding Rhode Island and Minnesota. Any Sponsor, Administrator, and their families excluded. No purchase is necessary.

Entries must include your name, phone number, and email and are limited to 500,000 entries per person.

Entry options: purchase of eligible products on dev.artecindustries.com, verified email opt-in, or AMOE on dev.artecindustries.com. Incomplete, late, or ineligible entries are void. Ten finalists will be randomly selected, from which one grand prize winner will be drawn. The grand prize is a 2024 4XE Rubicon (or cash alternative of $17,000). Winners must respond within 10 days and may be required to complete eligibility paperwork. Prizes are non-transferable and winners are responsible for taxes. By entering, you accept the rules and consent to release and publicity terms. Full rules and privacy policy are at /pages/promotion-terms-and-condition