





Tools Required :
Safety Glasses, Gloves, (optional), Jack Stands, Floor Jack, Drill, Drill 3/4" Drill bit or Reamer , 1-1/4 Wrench, 1-1/8" wrench, Socket Set/Wrench or Impact, Breaker Bar, Torque wrench, 1-1/8 socket, 33mm socket Measuring Tape, Sharpie, Cutting Device (Sawzall, Band saw, Cutoff wheel, Chop saw, Hacksaw), 7/8"x14tpi Tap (Both Left hand thread and Standard) Lug wrench, Wheel Lock Key (If you have wheel locks the guys at the tire shop probably lost the wheel lock key), Pittman arm puller , Tie rod separator, Needle Nose Pliers, Large Hammer, Map gas Torch (Optional Probably Required in Rust Belt States) Anti seize, Blue Loctite, Cutting oil, Welder/ Welding PPE, and a helper/wrenching buddy.
Warning: This kit requires basic fabrication skills (Cutting, Drilling, and Welding ) If you are not confident in your abilities please have this installed at a Local Off-road Shop.
Step 1:
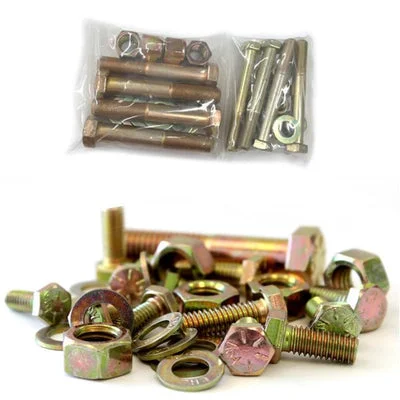
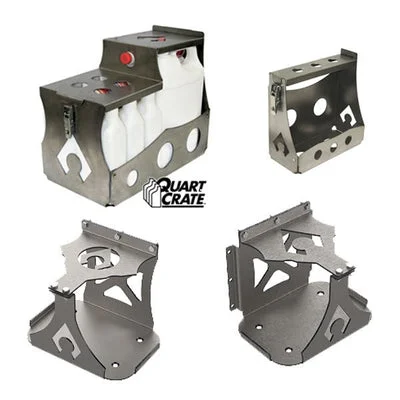
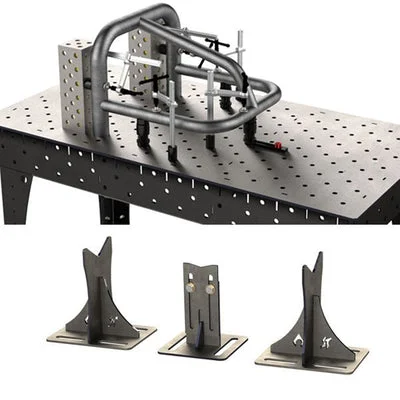
Open Packages and Inventory all of the Parts Please contact Artec Industries Immediately if you are missing any parts or hardware @ (855) 278 3299 .
Step 2:
Please make sure your wheels and steering wheel are strait, An you do not have any bent or broken steering components This can throw off your measurements which will be critical later on.
Step 3:
Grab your buddy, use the tape measure. You will want to measure and record the lengths of your current Tie rod from center of bolt on the knuckle to center of bolt on the knuckle. Now measure the current drag-link length from bolt center to bolt center of the drag-link ends.
(On our Jeep We measured total length of the tie rod at 58.5" and drag-link at 40.5" )
Step 4:
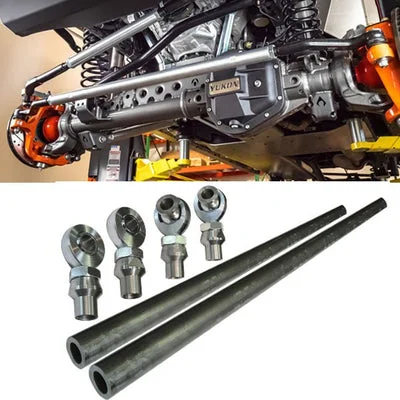
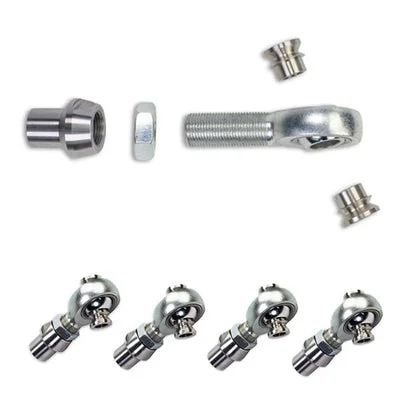
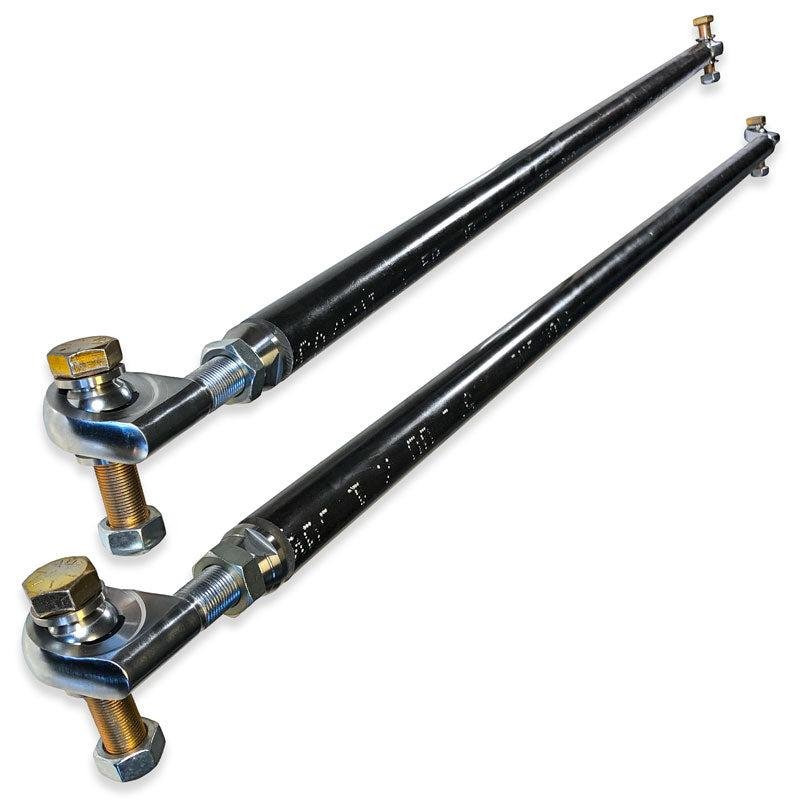
Thread the Jam nuts onto your Heim Joints, Then Thread the Tube adapters onto the heim. We recommend when assembling the Heim to measure the distance from center of hole in heim to the inside edge of tube adapter where it will bottom out against the D.O.M. Set that length to 3" This will allow for plenty of adjustment later on. The Artec uncut assembled Tie rod Should Measure 60" and Drag-link should Measure 54" if you did this correctly. Subtract your current Drag link And tie rod lengths from the measurements for the Artec steering and cut the difference out of the tubes Remember to Measure 2x Cut once ! ( Reference : We Cut 1.5" off of the tie rod tubing and 13.5" off of the drag-link tube. )
Step 5:
Remove Heim from Tube adapters and Weld the tube adapters into place (You will want to ensure you have 1 tube adapter with a groove LH Thread and one non grooved Standard Thread on each piece of tube to allow adjustment on the vehicle ). Once the welding is complete allow tube adapters to cool for a bit. Once cooled chase the threads with a 7/8x14 Tap . Welding can cause the tube adapters to shrink some. After the threads have been chased grab the Ant seize ( That stuff that will make you look like the tin man from the wizard of oz) Put some ant seize on the treads of the heim and thread them into the tube adapters.
Step 6:
Chock your wheels, Start to break loose the front lug nuts free while Jeep is on the ground (Do not fully remove the lug nuts)
Step 6:
Jack up the Jeep and set it securely on jack stands. Now continue to remove the lug nuts and wheels.
Once Wheels are off. Remove the brake caliper off the knuckles (Hang it off the frame with a bungee cord or modified Metal coat hanger ) Now remove the brake rotors (You may need to tap the hat of the rotor if it is rusted on.) Set the rotors on a flat surface. (Do not stand them on end it can cause them to Warp.)
Step 7:
Remove cotter pins on Tie rods and drag links, Then loosen the castle nuts. (Leave the castle nuts installed by a few threads ! ) Grab your Tie rod Separator, wedge it between the knuckle and the base of the tie rod Hit on the end of the Tie rod separator with your Big Freaking Hammer until it pops loose Then repeat on the other side and with drag link . Remove the castle nuts and the Drag-link and tie rod should drop off the Jeep.
( Tip : If you have a small Map gas torch heat the Castle nuts and heat the knuckle some this will help break parts free in the rust belt states )
Step 8:
(We Highly Recommend Removing Pittman arm to ensure it is drilled strait and makes drilling a lot easier)
Use 33mm socket to remove Pittman Arm Nut . Once the nut is removed attached your Pittman arm puller and start to pull the Pittman arm.
Tech Tip : You can use the torch here to help Just remember if you used any type of penetration oil it could cause a fire. You can also give the Pittman arm a whack with the Hammer and sometimes till pop right off. Sometimes you have leave the Pittman arm puller on under tension for a bit. walk away for a bit when you come back its magically on the floor
Once the Pittman arm is removed from the Jeep you will want to Put it in a drill press and drill out the hole to 3/4" if you do not have access to a drill press you can use a bench vise just ensure you are drilling it strait.
Step 9:
Reinstall the Pittman arm it is keyed so it should only go on 1 way, Use Blue Loctite on the Pittman arm nut . You will want to use your torque wrench when installing the Pittman arm torque to 185ft lbs. (manufacturer spec)
Step 10:
Grab your drill and 3/4" drill bit or reamer and drill out the knuckle. Once the knuckle is drilled out, Use the supplied hardware and install the tie rod followed by the drag link. When installing the hardware you will want to have the Bolt go through the knuckle then Washer on underside of knuckle sandwiched between the knuckle and misalignment spacer in the heim than the nut against the other misalignment spacer.
Step 11:
Reinstall the brakes (if your brakes are worn this is the time to replace them.)
Install the wheels on vehicle and tighten lug nuts. (Do not torque them yet !) Lower vehicle off of the jack stands and onto ground then torque the lug nuts to 95ft lbs.
Step 12:
With the Jeep back together and on the ground, Did you remember to record the measurement of your steering you took in step #3. Use your helper and a tape measure to make sure your adjustments are the same or as close as you can get. to those numbers . You will want your tires set Toe in 1/16" - 1/8" (Front of the tires closer together than the rear of the tire.) Set this by loosening Jam nuts on the steering and twisting the tie rod using a wrench on the wrench flats machined into the tube adapters. This will get it so you can drive the Jeep to an alignment shop to have an alignment performed by a shop.
Step13:
Go Wheeling and enjoy your new steering .