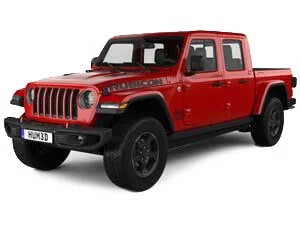
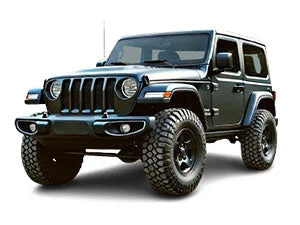
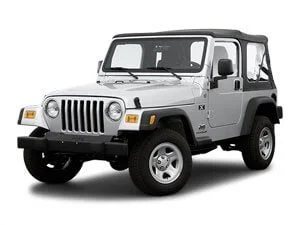
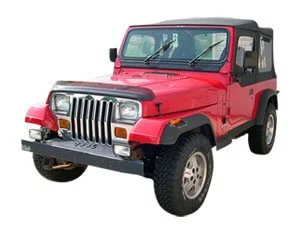
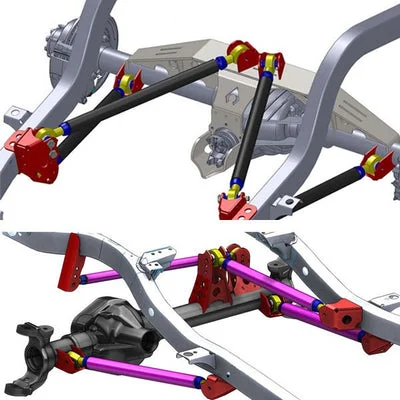
THIS KIT INVOLVES EXTENSIVE WELDING AND
GENERAL FABRICATION SKILLS. ONLY COMPETENT WELDERS SHOULD ATTEMPT TO INSTALL
THIS KIT.
Tools Required :
Safety Glasses, Gloves, Tape Measure, Socket Set, Wrenches,
Wheel chocks, Jack, Jack stand. Cutting
Tool of your choice (Sawzall, Grinder, plasma, cutting torch) Welder.
Step 1:
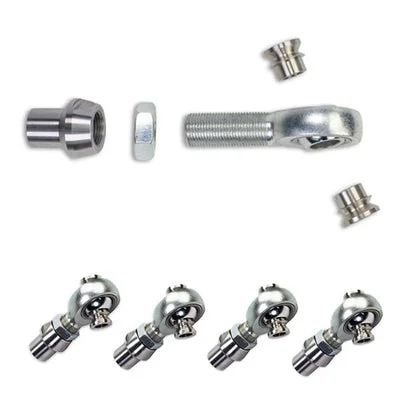
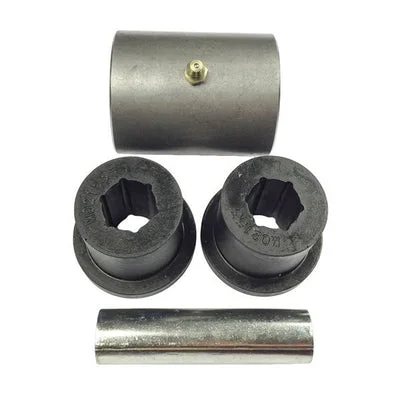
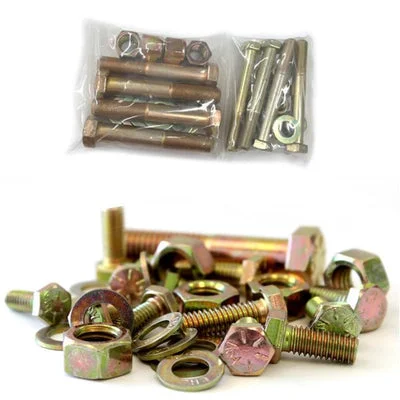
Inventory that you have all of the parts for your order If you are missing parts
or have incorrect parts contact Artec Industries Immediately @
(855)-278-3299 M-F from 8am-5pm MST If it is after those hours please Email
Sales@Artecindustries.com
Step 2:
Place wheel chocks at the front wheels of the vehicle. Break free lug nuts on rear wheels (Do not
fully loosen or remove lug nuts yet.)
Step 3:
With the vehicle sitting on the ground, Measure your ride
height at the frame and height of the centerline of the axle, Also take measurement
of your wheel base.
(Make a note of this for later.)
Step 4:
Jack up the rear of the vehicle and set the axle on Jack
stands, Remove the rear wheels from the vehicle, With the wheels removed Jack the vehicle up
again. Securely place tall jack stands
under the frame in front of the LCA or Leaf spring mounts at the previously
measurement of ride height. Place a 2nd sent of jack stands under the rear
axle.
Step 5:
Remove the existing rear axle from the vehicle. If you are
stretching wheelbase back far enough for
axle to interfere with fuel tank you will also want to Remove the fuel tank and
set it in a well ventilated area away from where you will be working and
welding.
Step 6:
Prep axle the truss will be welded onto by removing all
mounts and paint/ rust. Once the axle is
prepped. Slide new axle under the vehicle and place on jack stands at the
measurement of what the centerline height was at ride height also make sure it
is set to the wheelbase you will be using.
Step 7:
Using another jack stand or block of wood set under the
pinion on the axle set the desired pinion angle of your build to ensure it does
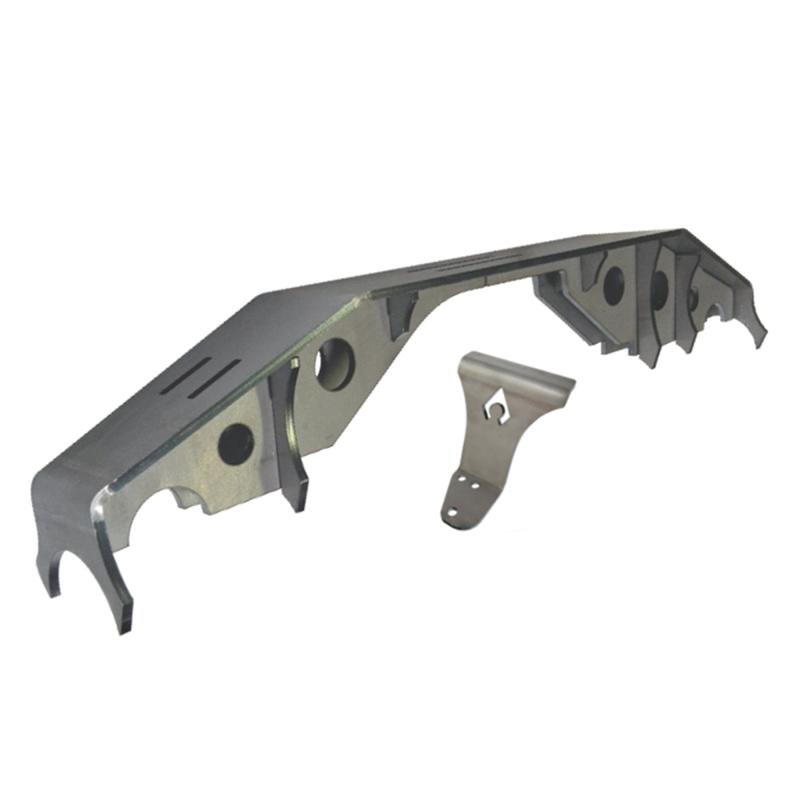
not get changed . Now place the truss on top of the axle so it is level with
the ground and not tilted forward or backward (If your
truss is angled it can cause upper arm mounts or the truss to twist off under
load) You may need to trim some
gussets on the truss to allow it to sit level depending on your wheelbase and
pinion angle.
Step 8:
With the truss set level on top of the axle tack weld The
truss ends to the axle tubes.
Step 9:
With the truss tacked into place Pull the rear axle from
under the vehicle to allow more space for welding. Once the axle is pulled from under the
vehicle. Heat the axle to about 400
degrees Start to weld the gussets to the
axle and truss .When welding, Start on one side of the axle, Weld a small amount,
Then move on to the opposite side of the axle to allow each side to cool. This
will help prevent warping .Stitch welding is preferred and welding every inch of every seam is not
necessary. Grind and clean the rosette welds on the axle. If your truss has a
bridge you may need to Trim the bridge depending on your pinion angle and weld
it to the truss. (Optional) Stitch weld the axle tubes to the ends of the casting for added
axle strength and to prevent the axle tubes from twisting. If you have
any Control arm mounts, Shock mounts, Coil over tabs, Track bar mounts that
need to be welded on to the axle you
will need to place the axle under the Jeep on jack stands at ride height and
desired wheelbase an weld them on at this time in their proper location for
your specific build. Once all of the
welding is complete you will wrap the
axle in a welding blanket to slowly cool overnight.
Step 10:
Clean the Truss and axle of any machining oils and Prep for
paint or powder coat.
Step 11:
Install the axle back under the vehicle and place on jack
stands. If you removed your fuel tank
you can reinstall it at this point.
Install the wheels on the vehicle and tighten the lug nuts (Do not
torque them down yet.) Lift the vehicle
and remove all of the jack stands and set the vehicle on the ground. with the vehicle on the ground check all of
the bolts and lug nuts are torqued to proper specs. we recommend drawing a line
on the nut and bolt heads and where they are mounted for quick reference when
checking for tightness after 50 miles .